Fran B had a dilemma on her hands with her cotton crocheted bedspread. I think I first heard from her by phone when she told me that her bedspread had gotten stained and her “fix” had not worked. Well, the trouble was, she’d tried painting over the stain with white acrylic paint. Oddly enough, I’d heard of a needlework piece that’d had a similar fate to Fran’s just a few weeks earlier when another customer had phoned from NY to say her mother had crocheted a large Lord’s prayer and given it to a church. It’d gotten dirty, and someone had painted it white to try to get the clean look back. Hm. Paint is hard, hard, hard to get off once it’s on fabric. Doesn’t make for a good reversal, and it’s always a plus if whatever you do to a piece of needlework can be taken back out.
This repair took quite a while to complete. First it went to the textile cleaner, but we still had issues. Though she got most of the spread snowy white, she had to hand clean the rather large paint stain, and as she tried to get the paint out, she spread it and it turned from a white paint stain to a set-in yellowish color. Yikes! Fran had her send the spread back to me to see if I could remove the affected area, as it was extra long and we could still get it to fit her bed.
I began this repair while at the beach on a trip to Florida to help a friend work on her rental condo. My work goes on most getaways with me, as I always seem to be working! I am blessed to be able to do any sort of needlework in the car while my husband drives, and there is *nothing* better for a stitcher than a long trip on which to sew in wonderful daylight!
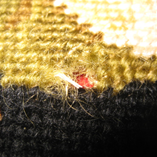
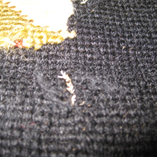
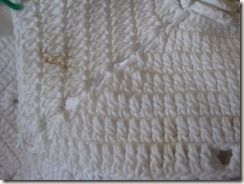
I don’t have photos of the paint still on the squares, but I do have photos of areas that still had spots on them after the textile cleaner sent it back to me. I suspect that she stopped working on smaller spots once she couldn’t get the paint out. These stains were the “rusty” types that are often found on vintage textiles:
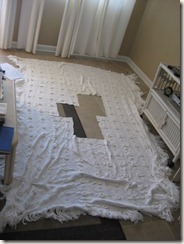
First job was to remove any square that had any sort of stain. This photo shows the removal of just the painted area taken out:
Next, I took other pieces out around the open area, then filled in the missing squares with clean ones, thus shortening the bedspread:
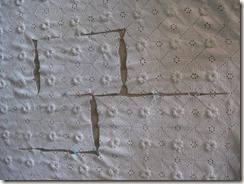
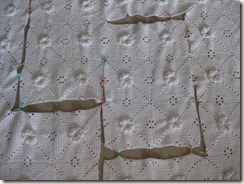
These replaced squares were whip-stitched into place:
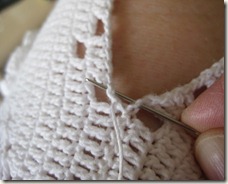
Once the bedspread was whole again, it looked very good. Sorry, this is a dark photo:
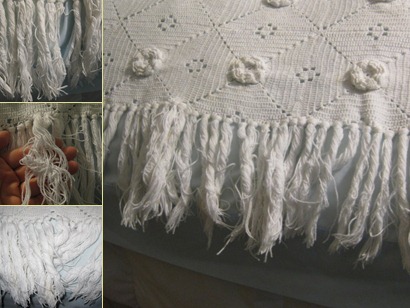
But…the tassels were all twisted up on each other, so I needed to untwist them:
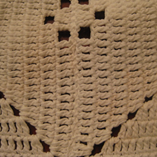
This is a task that seems easy and fast, but it’s actually extremely time-consuming. Plus, I ended up untwisting these tassels—there must’ve been 200 on this luxuriously-endowed spread—more than once because I kept tackling a few tiny stains, trying to get it perfect, which meant wetting down different areas in order to get the stain remover out of the thread. That would lead to moving the piece around, and tassels bunched up again. Anyway, the photos below show my straightening job finished. However, the bottom right photo shows the fringe *before* I sprayed it with water and smoothed it. Water smoothing really makes it look great:
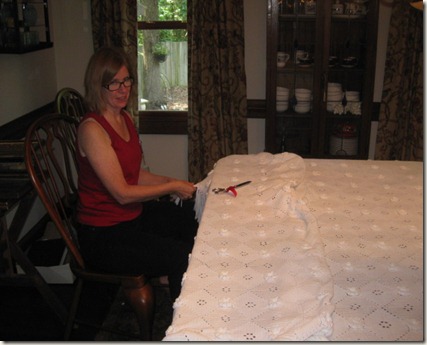
And here I am, untwisting and untwisting! I also snipped off very tiny tips of the fringe, to even it out:
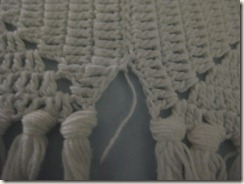
Once I had it all clean and bright, with no paint remaining, all stitched up and the fringe straight, I was ready to ship it back to Fran. But first, a few more close-up shots of where I’m tucking in some thread ends that were out in various areas of the spread:
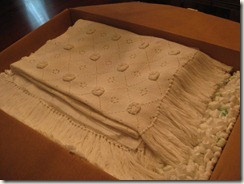
And now it’s really ready to return home:
My customer said:
Hi Melissa:
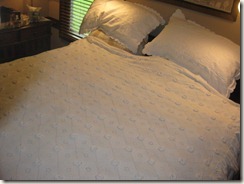
Attached are 2 pictures. It looks stupendous! I am so very pleased. It was well worth the wait as all your efforts paid off. I can't believe how tedious it must have been to straighten all those tassels. And, I couldn't find any stains. It's unbelievable! I know my mom is pleased too.
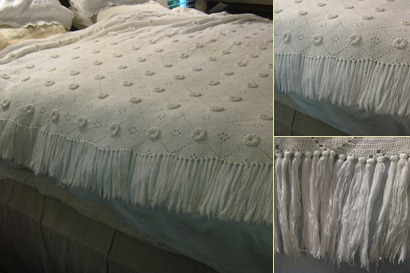
As you can see the spread fits the bed very well; shortening it worked fine since it has a baseboard. Your talents are very much appreciated. I will recommend you to anyone in need of such help.
And here are her pictures (with such a wonderful bed for it):
