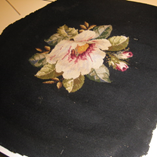
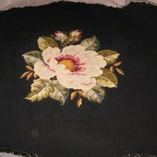
My friend Gay’s mom owns an upholstery shop in Tennessee. They had received a lovely Victorian needlepoint-topped stool that was in disrepair, and needed help restoring it to its original condition. Gay’s mom removed the needlepoint and sent to me.
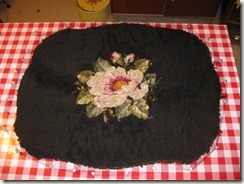
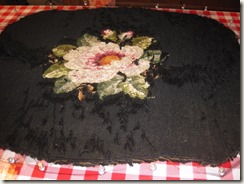
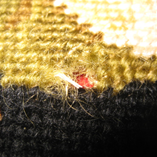
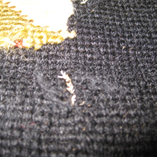
There were holes in the canvas, plus tears in it that affected both canvas and yarn stitches, which you can view if you click on the photos above. Critters had nipped at the wool yarn and removed either all or part of the stitches. Plus, the piece was dirty and needed a cleaning. This is an all-wool work, and thus had to go into the freezer for a de-bugging before anything else was done. Next came washing and blocking (done face-down, which keeps the stitching uniform):
I also stitched a fine netting material around the piece, which makes it easier to pull it for blocking, and also keeps the edges from raveling. Thanks, Bid! She’s my friend and fellow needlework repairer who also designs canvases. We share lots of great tips. See my blocking table? That was also a tip from her. It’s a hollow core door from Home Depot, with a checkered oilcloth stapled onto it. That makes it easy to line up fabric.
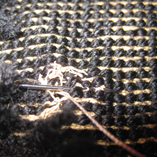
Step 3 in this repair job was to begin stitching up the canvas tears. I had some good black tapesty wool for the job, and used some sturdy upholstery thread to reweave the canvas. Here are some photos of that work:
Once the canvas was stabilized again, I could start the actual stitch repair:
For large size canvases, you may wish to purchase a pair of canvas pliers. The large grooved teeth are great for gripping canvas and stretching. These are available at art supply stores.
Plus there were other little repairs to single stitches here and there.
And here are the photos of the finished piece:
